Profile Setup
Your vendor profile is visible to customers browsing Weebe. Complete it before adding products.
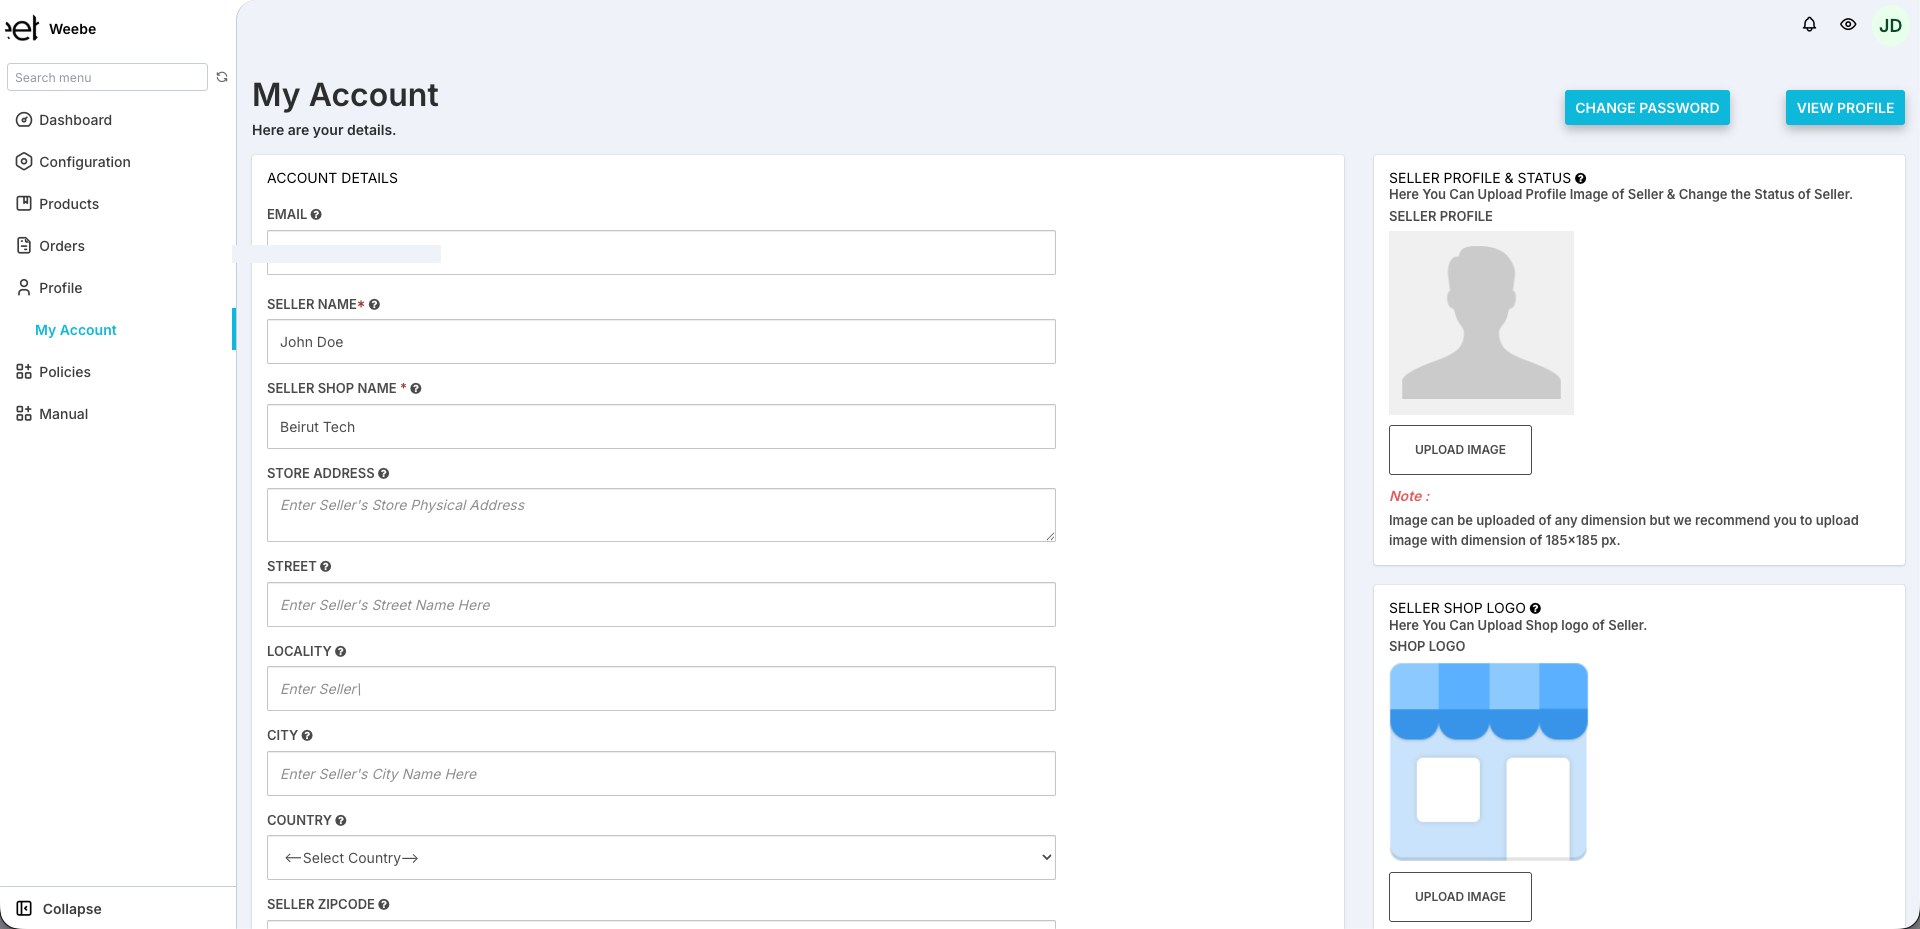
Accessing My Account
Go to Profile → My Account in the left sidebar.
Account Details
Fill in the following fields:
| Field | Description |
|---|---|
| Seller Name | Your personal or business contact name |
| Seller Shop Name | Your brand name shown to customers |
| Store Address | Your physical store or warehouse address |
| Street | Street address line |
| Locality | Area or neighbourhood |
| City | City |
| Country | Select from the dropdown |
| Seller Zipcode | Your postal / ZIP code |
| Seller Contact | Your business contact number |
Your Email is shown but cannot be changed here. Contact sellers@weebe.co to update your email address.
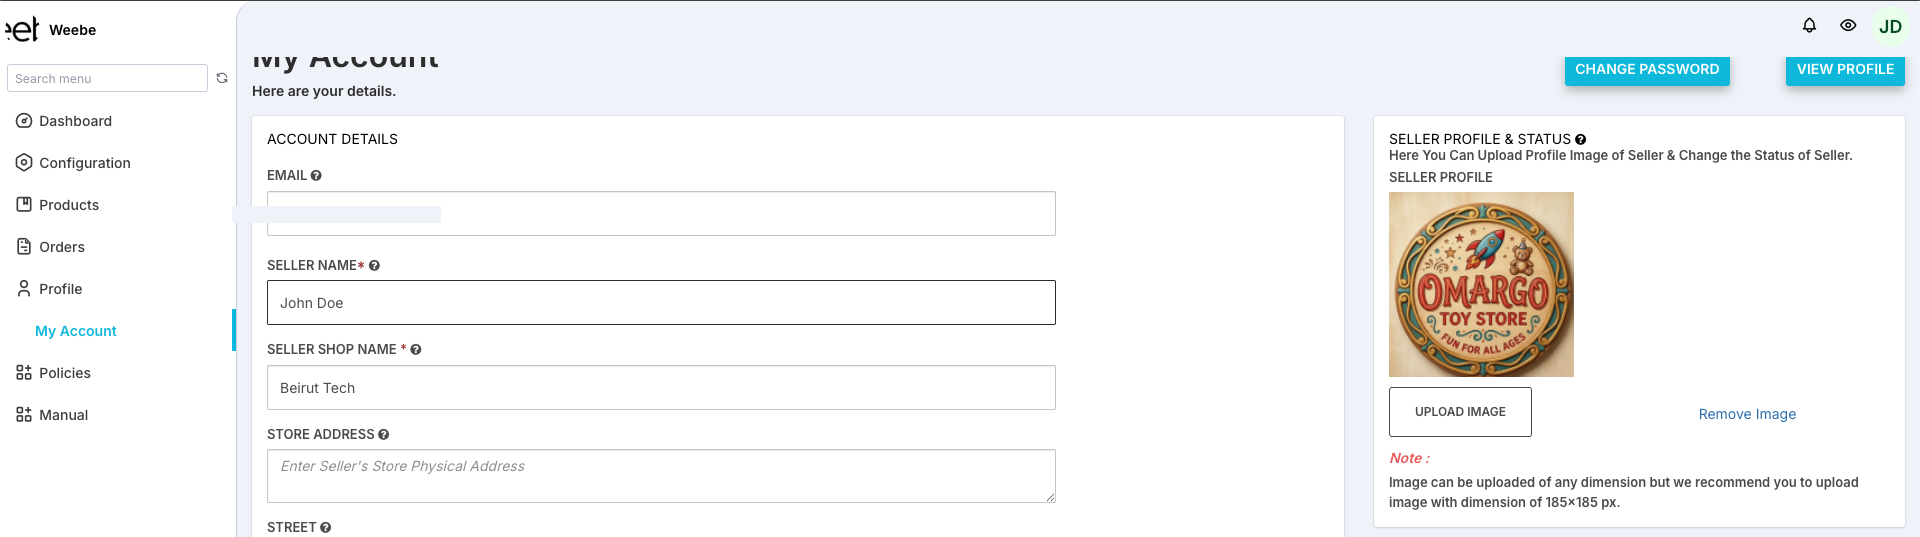
Seller Profile Image
In the Seller Profile & Status panel on the right:
- Click Upload Image
- Select a photo or logo (recommended size: 185 × 185 px)
- Click Save at the bottom of the page
Seller Shop Logo
In the Seller Shop Logo panel, click Upload Logo to open the logo upload modal.
![]()
- Recommended size: 165 × 165 px
- Accepted formats:
.jpg,.png,.jpeg - This logo appears on your storefront and on customer-facing invoices
Store Policy
Scroll down to the Store Policy section to add your returns, shipping, or other policies. Use the rich-text editor to format the text.
Store Banner
Below Store Policy, upload a Store Banner Image for your public storefront page.
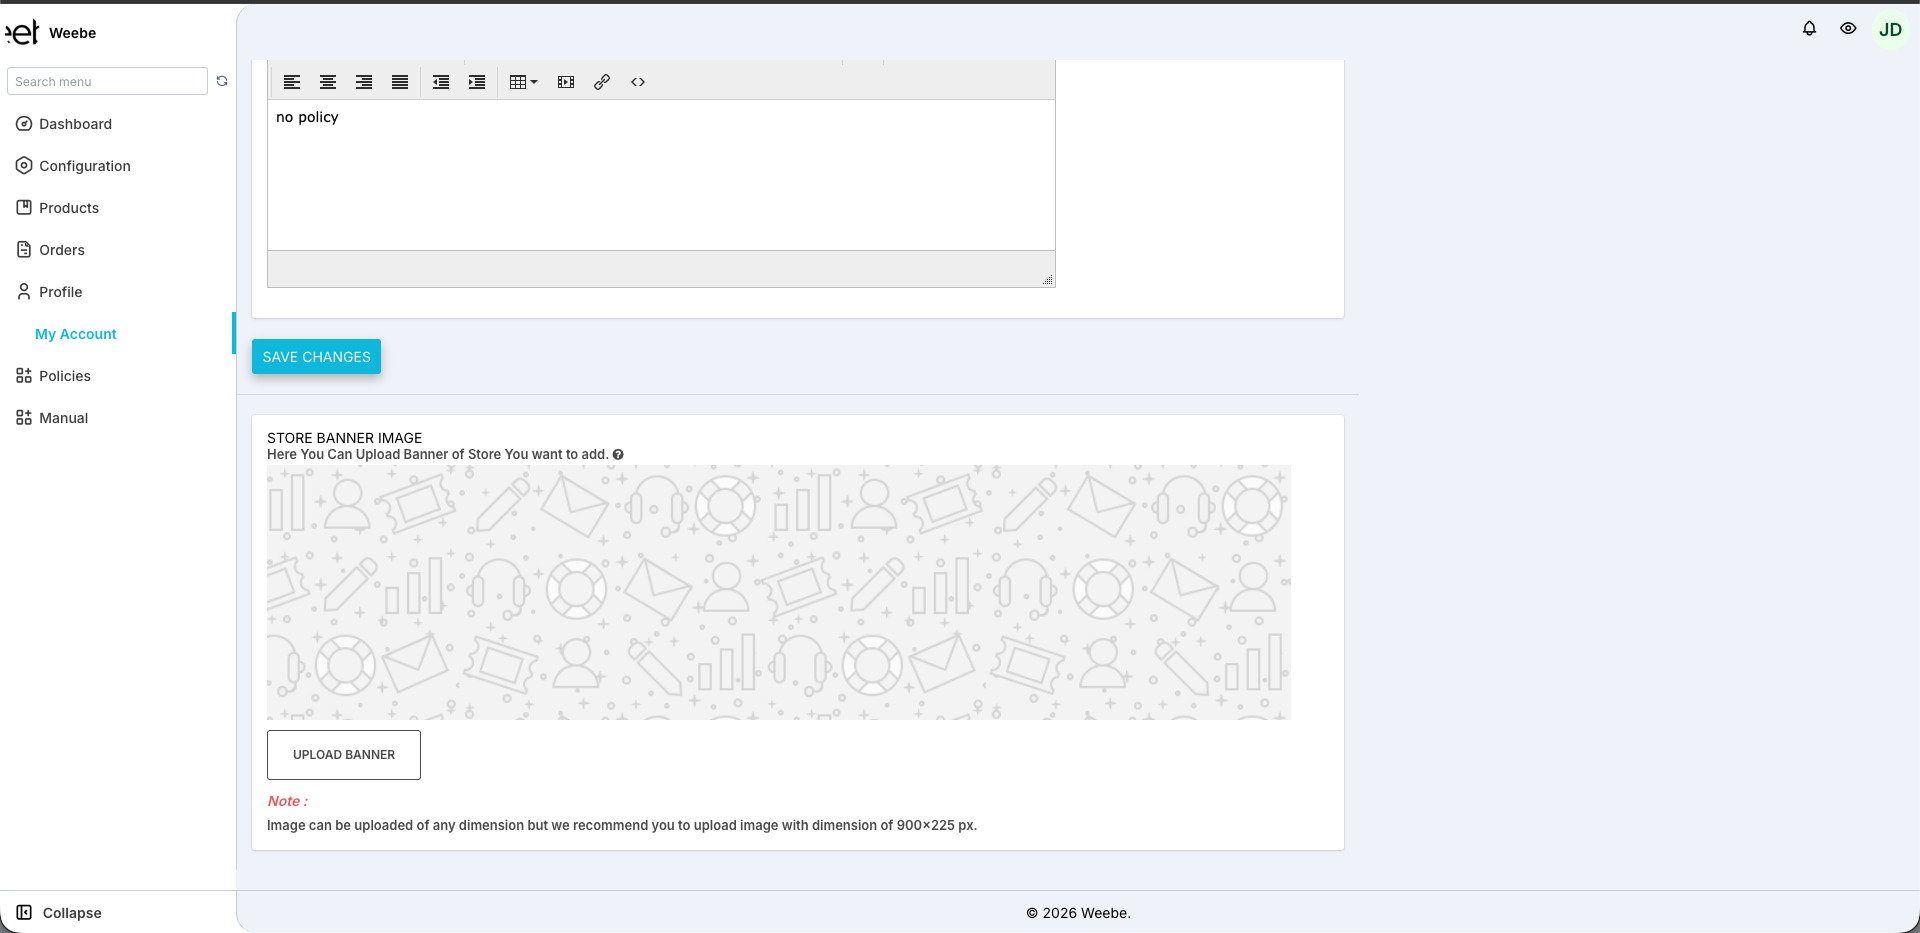
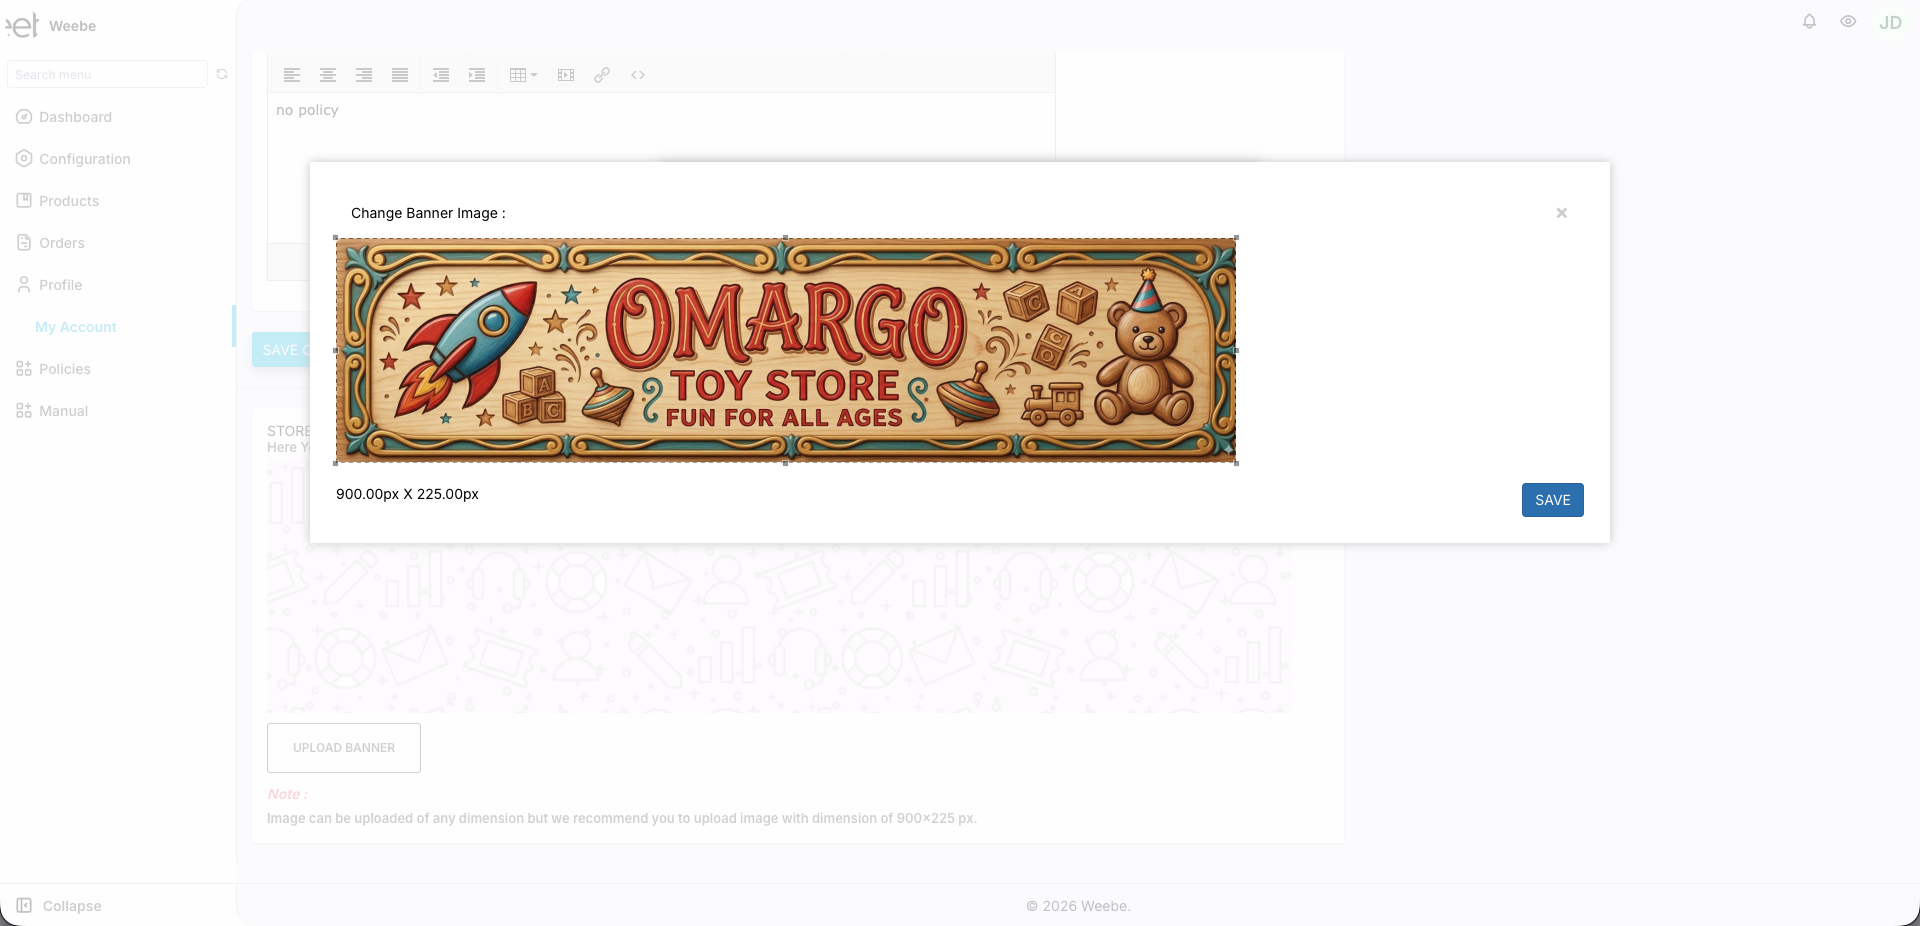
- Click Upload Banner
- Select an image (recommended size: 900 × 225 px)
Click Save Changes to apply the banner.
Viewing Your Public Profile
Click View Profile (top-right of the page) to see how your seller page looks to customers on the Weebe marketplace.

Saving
Click Save at the bottom of the page. Changes take effect immediately.